Welcome to our new
Oil Painting Course online
Much like any art form, painting is for everyone. That’s what this course is all about.
You might have been thinking for years, one day, I would like to learn how to paint with oils. I wish to destroy the myth: You need to be born with a special talent to be able to paint. I believe painting is for everyone and I have proven it over the years with my tried and tested tuition.
Not everyone aims to become a professional artist. Some would like to inspire their friends and family, or to create a beautiful gift for their loved ones. Most of all, many would like to develop a lifetime occupation or hobby that will bring priceless personal rewards and satisfaction in years to come.
If you are looking for a solid technical base for your project, this course is designed for you. The content is divided into short step-by-step demonstrations making the learning process easy to follow. I went through years of research and practice learning the hard way by myself. This 9 lessons course would have saved me so much precious time. This is why I am very happy to share it with you to fast track the learning process and get results from the beginning.
Not quite ready to purchase?
Premium Package Curriculum
- See what you will need to get started
- Part 1 - Introduction to Lesson 1 (11:02)
- How to set up your painting space (5:32)
- Part 2 - Basic brush application (10:28)
- Part 3 - Mixing and applying oil paint (7:32)
- Part 4 - Obtaining the right paint dilution (10:37)
- Part 5 - Cleaning your workstation (6:06)
- Part 6 - Close of lesson 1 (6:02)
- Brushes and reference images you will use in this exercise
- Brushes and reference images you will use in this exercise
- Part 1 - Introduction to lesson 3 - Painting a cube (5:07)
- Part 2 - Image transfer methods (8:31)
- Part 2a - Transferring and enlarging an image (14:06)
- Part 3 - Painting a three-dimensional object - tonal values (15:10)
- Part 4 - Choosing the right brush - precision painting (12:24)
- Part 5 - Close of lesson 3 - completing the cube (15:13)
- List of materials needed for this session
- Introduction to lesson 4 - all about colours (3:33)
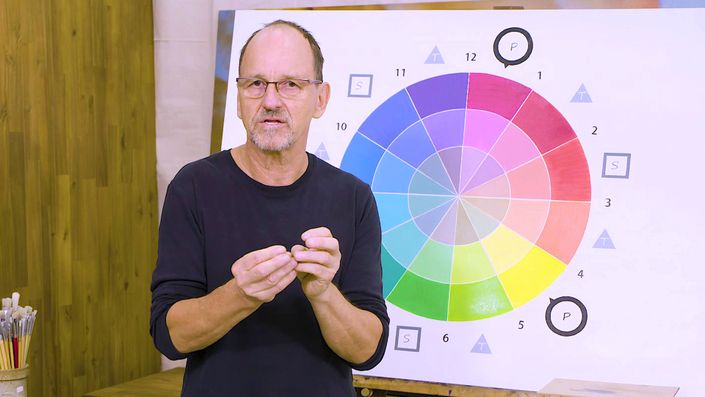
- Part 1 - Basic colour theory (15:23)
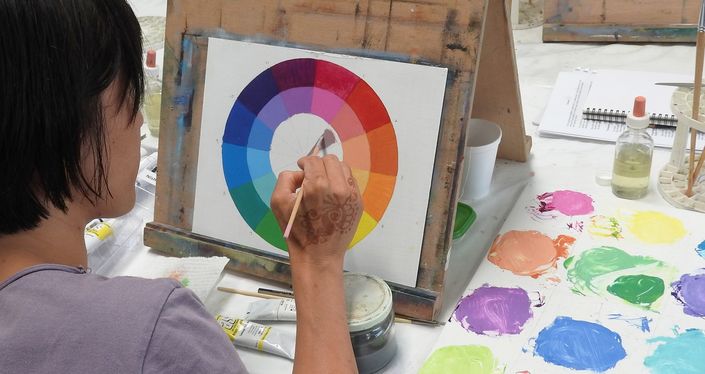
- Part 2 - Drawing your own colour wheel (14:16)
- Part 3 - Mixing colours (16:01)
- Part 4 - Tinting colours (3:49)
- Part 5 - Complementary colours (5:49)
- Part 6 - How to read oil colour labels (18:28)
- What you will need for this exercise
- Part 1 - Introduction to lesson 5 - getting ready (4:25)
- Part 2 - Transferring the image (4:46)
- Part 3 - Painting the apple - the darkest greens (5:57)
- Part 4 - Painting the apple - the next greens (2:45)
- Part 5 - Painting the apple - the mid greens (1:52)
- Part 6 - Painting the apple - the lighter greens (3:36)
- Part 7 - Painting the apple - the yellow greens (12:19)
- Part 8 - Painting the apple - details and shadows (12:58)
- Part 9 - Painting the apple - completing the background (13:12)
- A short blog about this apple session
- Reference photo and colour you will need for this lesson
- All the brushes you will need for this exercise
- Part 1 - Introduction to lesson 6 - painting a tulip (2:43)
- Part 2 - Painting the tulip - transferring the image (5:05)
- Part 3 - Painting the tulip - painting the background (12:41)
- Part 4 - Painting the tulip - more in the background (5:41)
- Part 5 - Painting the tulip - blocking in the pink tulip (9:48)
- Part 6 - Painting the tulip - completing the tulip (9:05)
- Part 7 - Painting the tulip - painting the leaf (19:22)
- List of materials and reference photo needed for this lesson
- Part 1 - Introduction to lesson 7 - first layer of the landscape (5:25)
- Part 2 - Transferring the image (4:09)
- Part 3 - Painting the landscape - the sky (13:30)
- Part 4 - Painting the landscape - the clouds (12:21)
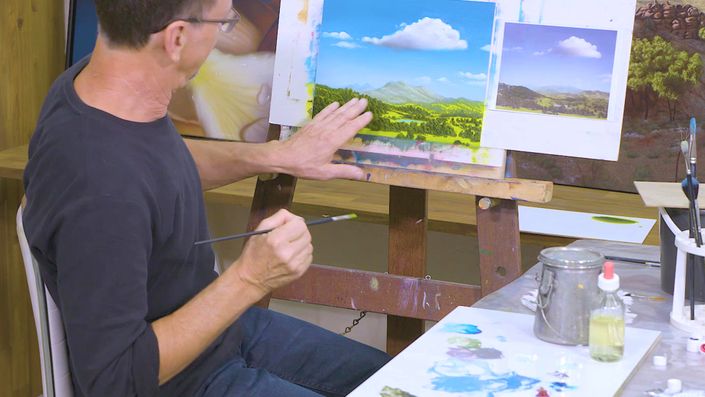
- Part 5 - Painting the landscape - the mountains (12:59)
- Part 6 - Painting the landscape - the foreground (6:11)
- Part 7 - Close of lesson 7 - developing the foreground (15:29)
- Materials for this exercise
- Colours needed for this exercise
- Part 1 - Introduction to lesson 8 - second layer of the tulip (7:44)
- Part 2 - Painting in layers - surface preparation (2:02)
- Part 3 - Painting the second layer of the tulip - glazing a transparent colour (12:37)
- Part 4 - Painting the second layer of the tulip - setting the dark colours (4:12)
- Part 5 - Painting the second layer of the tulip - setting the light colours (4:36)
- Part 6 - Painting the second layer on the tulip - the stem (5:35)
- Part 7 - Painting the second layer of the tulip - the leaf (20:32)
- Part 8 - Painting the second layer of the tulip - the final highlight (13:49)
- Materials you will need for this exercise
- Part 1 - Introduction to lesson 9 - setting up (2:12)
- Part 2 - Painting the second layer of the landscape - the sky (15:47)
- Part 3 - Painting the second layer of the landscape - the clouds (13:42)
- Part 4 - Painting the second layer of the landscape - the mountains (9:18)
- Part 5 - Painting the second layer of the landscape - details of the foreground (11:55)
- Part 6 - Painting the second layer of the landscape - completing the landscape (3:14)

Marcel has been exploring the power of oil paint for many years
His skills and techniques developed over 50 years has been applied to a vast variety of subjects, from landscapes to portraits, flowers, seascapes, and water reflections, Marcel has also explored the exciting world of abstraction and surrealism.
What you learn in this foundation course can be applied to any style of painting you wish. When you can control oil paint you will then be able to express yourself and be creative.


